
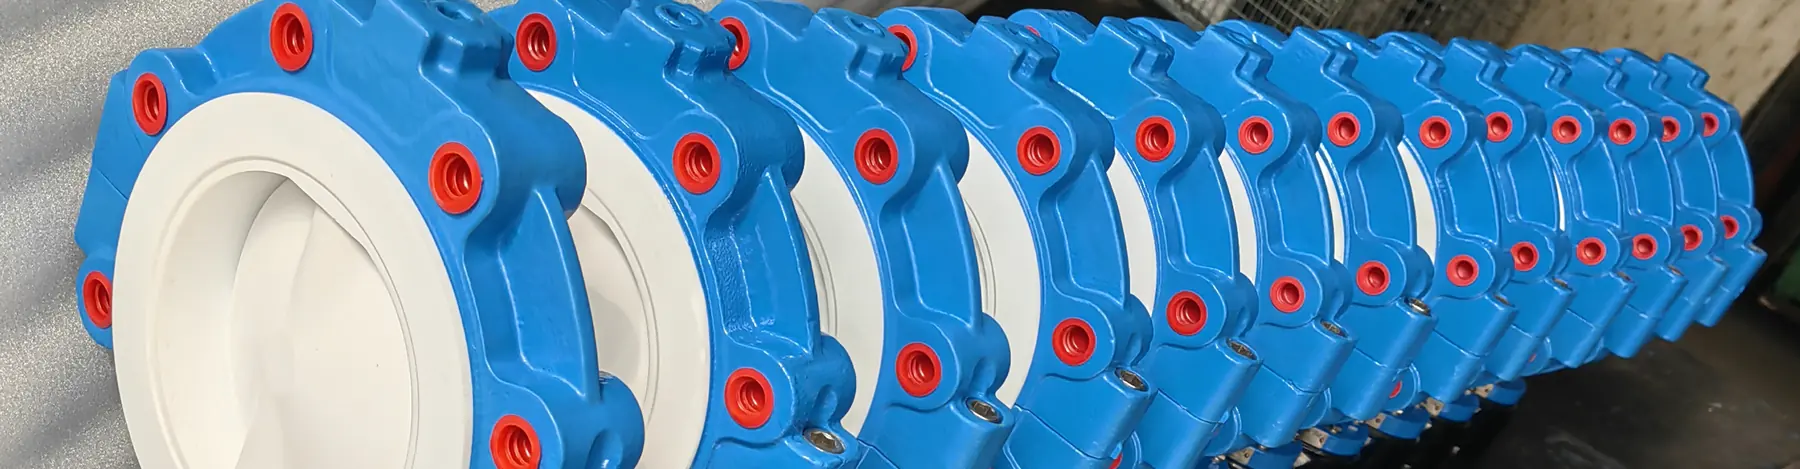
Installing a Wafer Butterfly Valve Between Flanges
The installation sequence that avoids seat damage, disc fouling and leaking joints on first pressure test.
Preparation Before Insertion
Before installing a wafer butterfly valve, confirm the flange faces are clean, flat, and free of burrs or gasket residue. Ensure the pipe ends are aligned and the flange bolt holes match the valve's mounting pattern. The valve body must be in the fully open position during insertion to prevent seat damage.
- Inspect both flanges for warping, corrosion, or debris before assembly
- Verify the flange standard and bolt hole pattern match the valve
- Open the valve disc fully to avoid compressing the resilient seat during insertion
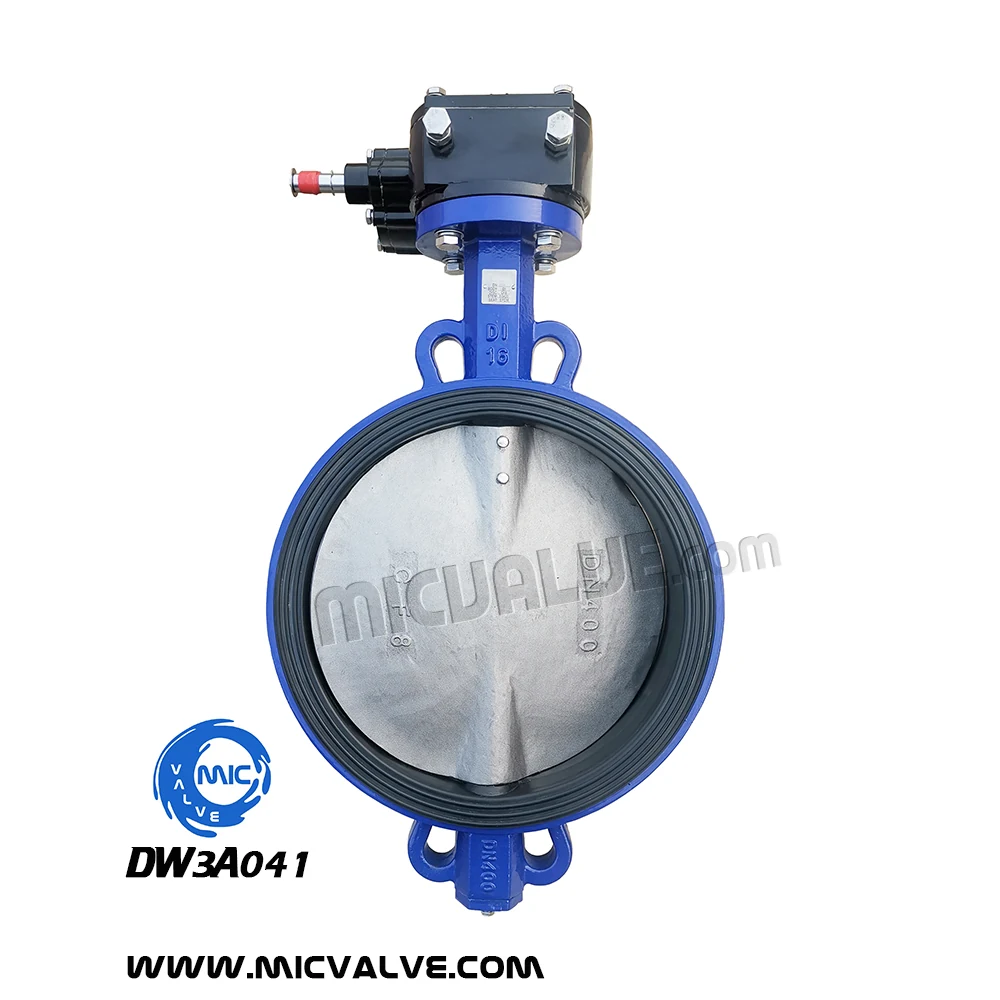
See DW3A041 Wafer Type ButterflyValve with Pin DN400
Positioning the Valve Between Flanges
Place the wafer body between the two flanges with the disc facing the flow direction. The valve should sit centrally between the flanges, with the body's face-to-face dimension matching the pipe run. Do not force the valve into position; alignment is critical to avoid misalignment and gasket stress.
- Align the valve so the disc is in line with the pipe centreline
- Ensure the body is not twisted or skewed between the flanges
- Check that the disc is not obstructed by pipe end protrusions
Installing the Through Bolts and Washers
Insert the long through bolts through the flange holes and the valve body. Use flat washers on both ends of each bolt to distribute clamping force evenly. Start all bolts by hand to avoid cross-threading, then tighten them in a crisscross pattern to ensure even compression.
- Use the correct bolt length to avoid over-tightening or insufficient clamping
- Apply washers on both sides of the flange to prevent surface damage
- Tighten bolts gradually in a diagonal sequence to prevent distortion
Browse Wafer Type Butterfly Valves
Torquing the Bolts to Specification
Torque the bolts to the recommended value for the nominal diameter and pressure rating. Use a calibrated torque wrench to ensure consistent clamping force across all bolts. Over-tightening can distort the flanges or damage the seat; under-tightening risks leakage.
- Follow the torque values specified for the valve size and pressure class
- Verify the torque sequence matches the flange standard
- Do not skip any bolts in the tightening sequence
Final Checks After Installation
After bolting, rotate the valve handle through its full range to confirm smooth operation. Check for any binding, leakage at the flanges, or misalignment. Confirm the disc moves freely and returns to the closed position without resistance.
- Test the valve in both open and closed positions for free movement
- Inspect flange joints for signs of leakage under pressure
- Ensure the handle or actuator operates without obstruction
Product Families Covered in This Guide
Questions On This Topic
What is the correct bolt length for a wafer butterfly valve?
The bolt length is confirmed on request based on the nominal diameter, flange standard, and flange thickness. It must allow full engagement without bottoming out.
Can I reuse the same gasket after removing the valve?
No. Gaskets must be replaced after removal to ensure a reliable seal. Reusing a compressed or damaged gasket increases the risk of leakage.
Is there a specific torque value for each valve size?
Yes. The torque value is confirmed on request based on the nominal diameter, pressure rating, and flange standard. It is not standardized across all sizes.
Do I need to open the valve before inserting it between flanges?
Yes. The disc must be fully open during insertion to prevent the resilient seat from being compressed or damaged by the pipe end.
Can a wafer butterfly valve be installed in a vertical pipeline?
Yes. Wafer butterfly valves can be installed in vertical or horizontal positions. The disc orientation should follow the flow direction as marked on the body.
Need This Checked Against Your Own Line Data
Send the pipe size, pressure, medium and temperature and our engineers will tell you which model fits.